You can import a forecast to use when creating a plan in Enhanced Strategic Planner.
Use consistent start and end dates for all WEM Skills in a single import file. This prevents unnecessary blank data for dates in the forecast date range the WEM Skill has no data. See Create a Plan.
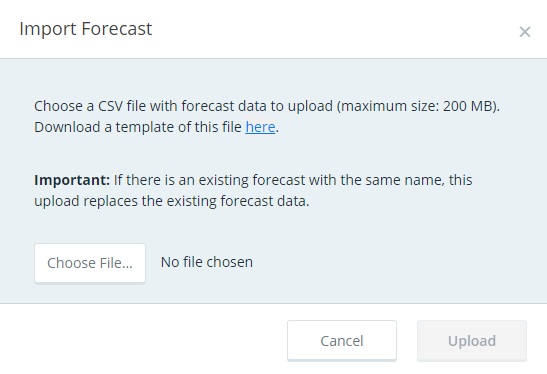
You can download a .csv template file from the Import Forecast window. If you upload your own .csv forecast file, make sure it follows the template format.
To import a forecast:
-
Go to Import Forecasts.
-
Click Import Forecast on the Import Forecasts page.
-
To download a template file, click the link.
Update the template file with your forecast data and save it as a .csv file.
-
In the Import Forecast window, click Choose File to locate and select your forecast import file. Click Open.
The file must be a .csv file and cannot be larger than 200 MB.
Be aware, new forecast data replaces existing forecast data, if the forecasts have the same name.
-
Click Upload.
The forecast appears in gray text at the top of the Import Forecasts page with a status of PENDING.
The forecast name is the filename of your .csv import file.
-
Refresh the Import Forecasts page until the forecast is no longer pending.
The forecast status shows FAILED if:
-
the imported forecast is more than 5 years, from the earliest date to the latest date
-
the import file has validation errors
-
the imported forecast could not be saved
Click on the forecast to see a log with the WEM Skills and errors. See Manage Imported Forecasts. If you have valid WEM Skills in the file and the forecast is not more than 5 years, the log shows up to the first 50 errors in the import file.
-
-
If your forecast has a status of FAILED and the log shows errors, fix the errors and upload the file again.