

Required permissions: Applications > Studio > Scripts >
A palette is a collection of actions. You can view palettes on the Tools tab. Studio comes with a default palette, which you can see when you view the actions on the tab organized by categories. The actions in the default palette are organized into several categories.
You can create your own custom palettes and categories. You can choose which actions to add to palettes that you create. Each palette must have at least one category, but you can add more if you want.
Creating custom palettes requires that you have access to the Framework tab. You can only add actions to a palette from this tab. The Framework tab isn't enabled in Studio by default. Contact your account representative if you would like access to this tab.
Create a Palette and Categories
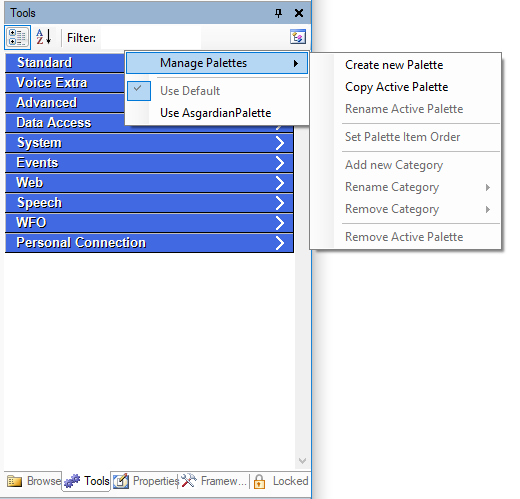
- On the Tools tab in Studio, click the palettes icon
 .
. - Click Manage Palettes > Create new Palette.
- Enter a New palette name and click OK. The new palette is now active in the Tools tab.
- Click the palettes icon, then Manage Palettes > Add new category. Each palette must have at least one category.
-
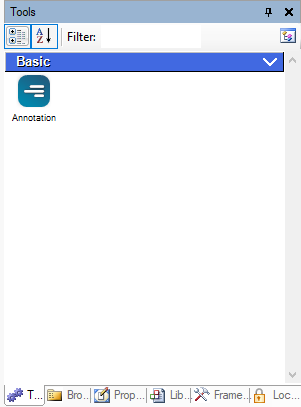
Enter a Category name and click OK. The category appears on the palette as a blue title bar with a drop-down arrow.
- Create additional categories if needed.
Add Actions to a Palette
- In Studio, click the palettes icon and select the palette you want to add actions to. The active palette has a checkmark next to it.
- Click the Framework tab.
- Right-click on the action that you want to add to your new palette and select Add to Active Palette, then select the category you want to add it to. If you haven't added a category to the palette yet, you're prompted to add one.
- Repeat step 3 for each action you want to add to the palette.
- Click the Tools tab and verify that the selected actions are on the palette.
Set Item Order on a Palette
You can define order of the actions in a category and the categories in a palette. The order you set is how you see items on the palette when you view the palette by categories using the categories icon  .
.
- On the Tools tab in Studio, click the palettes icon .
- Choose the palette you want to organize, then click Manage Palettes > Set Palette Item Order.
-
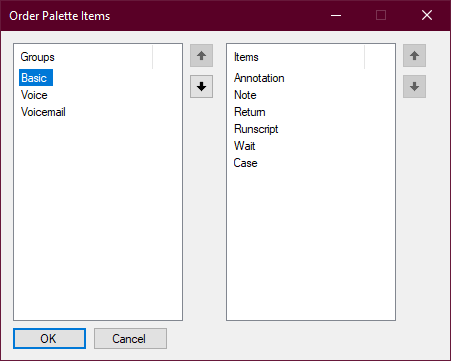
On the Order Palette Items window, click a category in the Groups list.
- Click the up or down arrow button to change the order of the category. Repeat until the categories are in the order you want.
- Select a category in the Groups list to view the actions it contains.
- Click the name of an action in the Items list, then click the up or down arrow buttons to move it.
- Repeat until the actions are in the order you want.
- Click OK.
Switch Between Palettes
- On the Tools tab in Studio, click the palettes icon . The palette you're currently using has a checkmark icon next to it.
- Click Use <palette name> for the palette you want to switch to.