

Salesforce Agent Lightning is the newer version of Salesforce Agent. It is highly recommended you switch to Salesforce Agent Lightning.
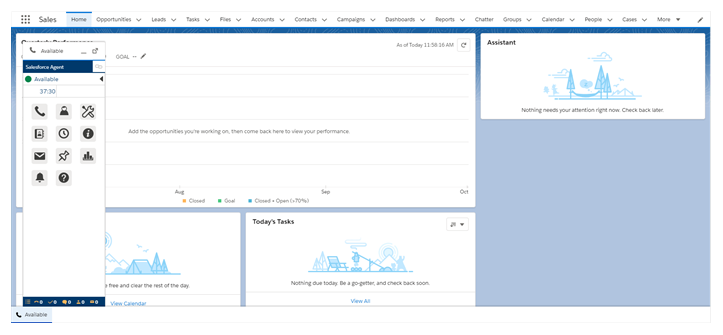
Salesforce Agent (SFA) Classic is the original agent experience for the original Salesforce Sales/Service Cloud.
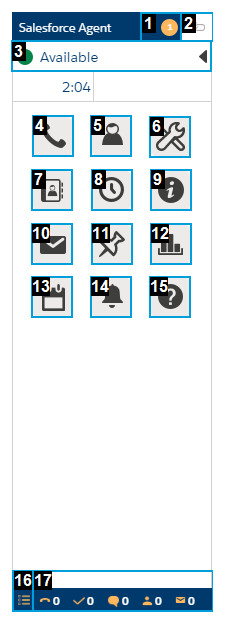
Salesforce Agent Classic Agent Interface
| Menu Item | Description | ||||||||||||
|---|---|---|---|---|---|---|---|---|---|---|---|---|---|
| Messages Indicator (1) | Indicates that there are one or more unread agent messages. | ||||||||||||
| Agent Leg Status (2) |
Displays your connectivity status. The agent leg status is not the same as the availability status. There are three status types:
|
||||||||||||
| Availability Status (3) | Shows your current state |
||||||||||||
| Phone (4) | Initiates an outbound call using the keypad. Your availability status does not need to be set to Available to make an outbound call. You can click the numbers or use the keyboard to enter a number to dial. | ||||||||||||
| Agents (5) | Displays a list of other agents and their availability state. You can filter the list or search for a specific agent. Selecting an agent in the list initiates an outbound call to that agent. | ||||||||||||
| Skill List (6) | Displays a list of all skills |
||||||||||||
| Address Books (7) | Displays your address books. All address books assigned to you are accessible here. You can search for an address book or use the drop-down to select one from a list. Selecting a contact in an address book displays that contact's details. You can click the mobile, email, or phone icon in the details to initiate a connection to that contact based on the icon you click. | ||||||||||||
| Contact History (8) | Displays your contact history. You can filter the list or search for a specific contact. You can select a contact to display a skill selection list, and then select a skill to initiate an outbound call to the phone number in the contact history. | ||||||||||||
| Information (9) | Displays basic information about you, including the currently installed version of Salesforce Agent and a list of skills assigned to your user account. | ||||||||||||
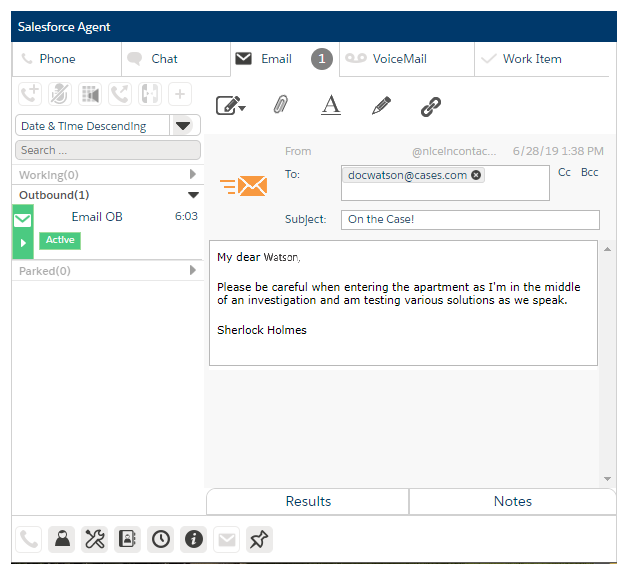
| Email (10) |
Initiates the email feature. The email interface pops out into a separate screen. Your availability status does not need to be set to Available to create an email. |
||||||||||||
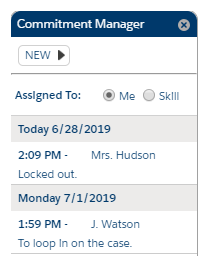
| Commitment Manager (11) |
Displays a list of pending commitments and the option to create a new commitment. Select Me to view your own commitments or Skill to view commitments assigned to a skill queue. |
||||||||||||
| Agent Reports (12) | Displays the Agent Reports dashboard, which allows you to view your performance and productivity. | ||||||||||||
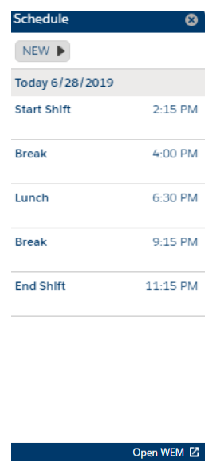
| Schedule (13) |
Displays your schedule and a list of commitments assigned to you. |
||||||||||||
| Agent Messages (14) | Displays agent messages. | ||||||||||||
| Help (15) | Redirects you to the NiCE CXone online help site. | ||||||||||||
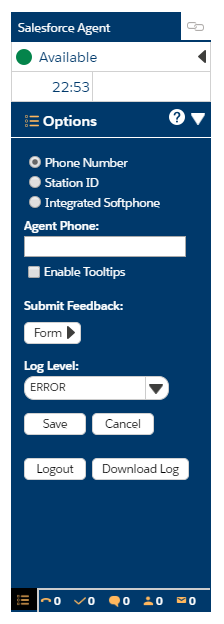
| Options (16) | Allows you to change personal information, submit feedback about Salesforce Agent, set A/V notifications, and download the Salesforce Agent log. | ||||||||||||
| Queue (17) |
The number of contacts in the queue of the skills assigned to you. It includes each of the following queues:
|


Any social media, social networking, and other technology sites, applications, or products referenced in this topic are the property of their respective owners.
Salesforce Agent Classic in Lightning Experience
The Salesforce Agent uses the Lightning Open CTI connector and supports the Salesforce Lightning Experience desktop environment in conjunction with the Salesforce Classic environment. The Lightning Experience interface includes contextual hover capabilities, a contact history feed, record details, and related lists. For help using or troubleshooting the Lightning Experience, see the Salesforce help for Finding Your Way Around Lightning Experience.
Log In to Salesforce Agent Lightning Experience
You need to enter your login credentials the first time you launch Salesforce Agent, whether you are using Salesforce Classic or the Lightning Experience. After your initial login, you can choose to automatically launch Salesforce Agent when you open Salesforce.
-
Click Phone in the lower left-hand corner to launch the Salesforce Agent interface.
-
Enter your Email and Password.
-
To automatically log in to Salesforce Agent each time you open Salesforce, select Enable Automatic Login.
- Click Sign In.
- Enter your Phone Number, Station ID, or select Integrated Softphone.
- Select Enable Tooltips if you want display specific information about each user interface icon when you hover your mouse over the icons.
-
Click Save.
- To log out of Salesforce Agent, click Options > Logout. Logging out of Salesforce will not automatically log you out of Salesforce Agent.