The process of setting up Single-Sign On (SSO) for Salesforce Agent (SFA) was updated in October 2022, with the creation of the new NiCE CXone call center. This new call center is configured for global authentication. Now, you only need to set up SSO in NiCE CXone, configure the NiCE CXone call center for your organization, and assign users to it. You no longer need to configure SSO in Salesforce.
Even if you already have SSO configured, you will need to follow the steps on this page to update to the new process. The old process will no longer work with the Spring 2023 release.
You can use the NiCE CXone built-in identity provider, Salesforce, or one of these third-party identity providers:
-
Ping
-
Okta
-
Active Directory
Once you follow the steps below to update, agents will no longer use the custom domain you configured for the old call centers to log in using SSO.
Complete each of these tasks in the order given.
Set up Single Sign-On in NiCE CXone
To set up Single Sign-On (SSO) for Salesforce Agent, you must first set up SSO in NiCE CXone. Based on your identity provider, complete one of the following:
-
Set up SSO for NiCE CXone using the built-in identity provider.
-
Set up SSO for NiCE CXone using Salesforce, Ping, or Active Directory.
Configure the NiCE CXone Call Center
Once you've set up SSO in NiCE CXone, configure and assign users to the NiCE CXone call center. This will enable SSO on the Salesforce side.
All Salesforce Agent users should be assigned to the NiCE CXone call center. All of the other, older call centers should not be used and can be deleted.
-
Click Setup in your account menu located in the top right corner.
-
Use the Quick Find box to search for Call Centers, then click the Call Centers link.
-
Review the information and click Continue.
-
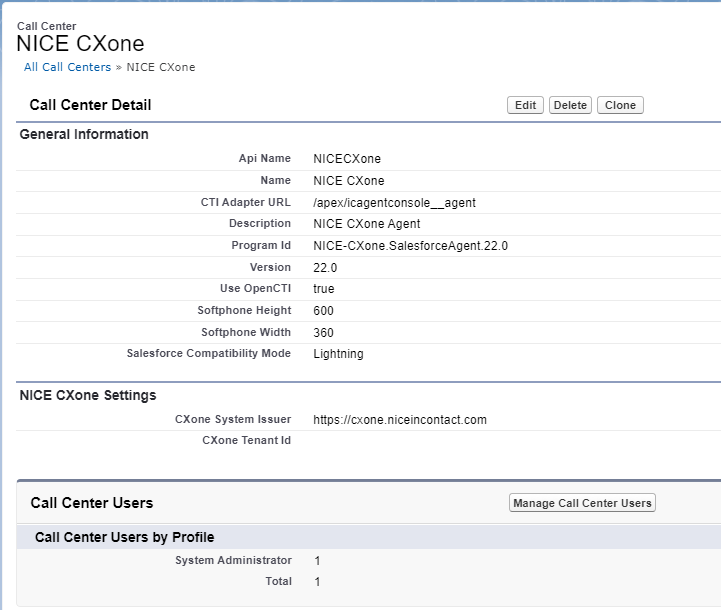
Click Edit next to the NiCE CXone call center.
-
In the NiCE CXone Settings section, make sure the NiCE CXone System Issuer field has the appropriate value for your organization:
-
Non-FedRamp customers: https://cxone.niceincontact.com
- NiCE CXone FedRamp Moderate customers: https://cxone-gov.niceincontact.com
-
-
Optional: Enter the Tenant ID of your NiCE CXone account in the NiCE CXone Tenant Id field. This will:
-
Hide the Use Company Domain option from agents when they're logging in.
-
Display the external login authenticator configured for your tenant.
You can ask your account representative for the NiCE CXone Tenant ID.
-
-
Make sure the URL you entered for NiCE CXone System Issuer in step 5 is configured in Remote Site Settings.
-
Use the Quick Find box to search for Remote Site Settings, then click Remote Site Settings.
-
Select NICEinContact.
-
Click Edit.
-
In the Remote Site URL field, enter your NiCE CXone System Issuer URL.
-
Click Save.
-
Assign Users to the NiCE CXone Call Center
After modifying the call center definition, you must assign users to the NiCE CXone call center. You can do this by modifying the call center or modifying individual users.
Modify the Call Center
-
Click Setup in the upper right corner.
-
Use the Quick Find box to search for Call Centers, then click Call Centers.
-
If the Say Hello to Salesforce Call Center screen appears, click Continue.
-
Select the NiCE CXone call center. Do not click Edit next to the call center name.
-
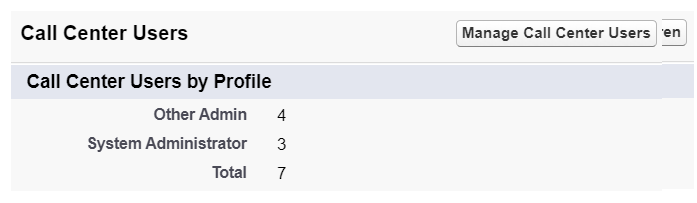
In the Call Center Users section, click Manage Call Center Users.
-
Click Add More Users. Search for users by configuring the filter fields and clicking Find.
-
When the search results appear, check the box next to the users you want to add, then click Add to Call Center.
Modify Individual Users
-
Click Setup in the upper right corner.
-
Use the Quick Find box to search for Users, and then click Users.
-
Click Edit next to the user you want to add to the call center.
-
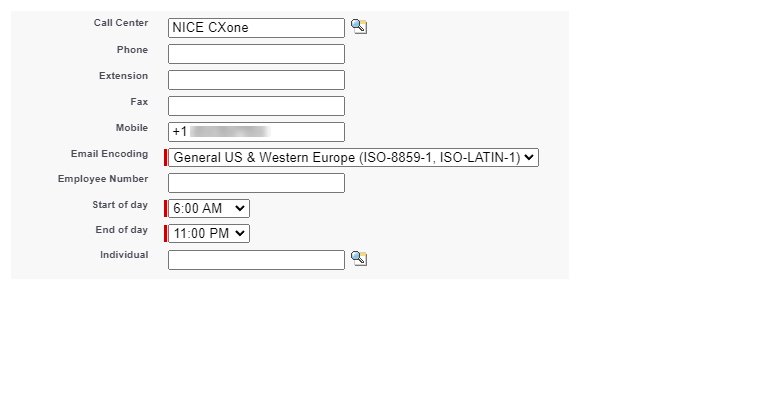
Scroll down to the bottom right part of the General Information section. Enter NiCE CXone in the Call Center field, or use the search button to search for configured call centers.
- Click Save.