

Complete each of these tasks in the order given.
Assign License
- In Salesforce, click Setup in the upper right corner.
-
In the Quick Find box, enter Installed Packages > Installed Packages.
-
Select the Einstein application and click Manage Licenses.
- Select the checkbox next to the users you want to assign a license to.
- Click Add.
Assign Performance Analytics for Salesforce Einstein (PASE) Permission Set
- In Salesforce, click Setup in the upper right corner.
-
In the Quick Find box, enter Permissions > Permission Sets.
-
Select the Analytics for Salesforce Einstein Permission Set you would like to assign.
 Click to determine which permission set to select
Permission Set
Details
Admin Access to Expert Mode which allows the capability to edit dashboards and stories. User
Can only view dashboards and stories created by the admin user but cannot edit them.
- Click Manage Assignments > Add Assignments.
- Select the checkbox next to the users you want to assign this permission to.
- Click Assign.
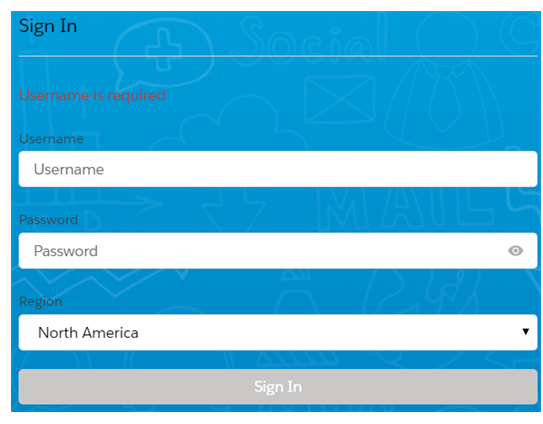
Performance Analytics for Salesforce Einstein (PASE) Authentication
Once you have performed the authentication process, it will consume a user license that will be used to load data from NiCE CXone to Salesforce.
-
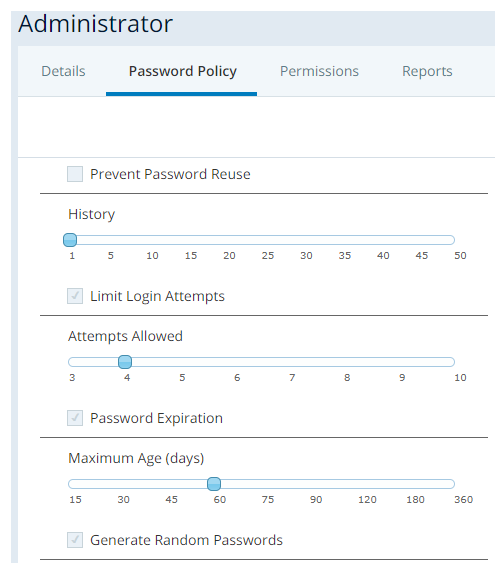
In NiCE CXone, ensure that your security profile has the Generate Random Passwords and Access Keys checkboxes selected.
-
In the Admin application, click Security Profiles > your security profile.
-
Click the Password Policy tab to ensure the Generate Random Passwords checkbox is selected.
-
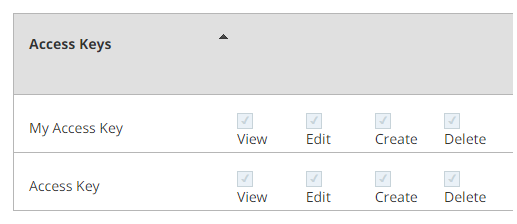
Click the Permissions tab, under Access Keys, ensure that the My Access Key and Access Key checkboxes are selected for all permissions.
-
-
Navigate to the App Launcher in the upper left corner of your Salesforce instance.
-
In the Search box enter NiCE CXone > NiCE CXone Analytics Login.
You will only use the NiCE CXone Analytics Login one time. To launch the app after authentication is complete, you will use NiCE CXone Analytics.
-
Log in to your NiCE CXone business unit using your administrator username and password.
-
Select Central from the drop-down.
-
Upon successful log in a user will be created, Albert@<business unit ID>.com.
-
User must log in to email to activate.
Remote Site Settings
-
In Salesforce, click Setup in the upper right corner.
-
In the Quick Find box, enter Metadata > Custom Metadata Types.
-
Click inContact API User Keys > Manage inContact API User Keys > inContact.
-
Copy the Resource URL. Save this for future use.
-
In the Quick Find box, enter Remote > Remote Site Settings > New Remote Site.
-
Enter a descriptive name in theRemote Site Name field and paste the resource URL from step 4 in the Remote Site URL field. If you want to, add a description.
-
Click Save.
Create Base Application
You have to create this base application only once in the set up of Performance Analytics for Salesforce Einstein (PASE).
- In Salesforce set up, navigate to the App Launcher (indicated by the dots in the left corner) and search for NiCE CXone Analytics > NiCE CXone Analytics.
- In the Performance Analytics for Salesforce Einstein (PASE) application, under Expert Mode, click Analytics Studio.
- On the left, under Browse, click All Items > Create > App.
- Click Create App from Template > NiCE CXone Analytics Base App > Continue > Continue.
-
Enter NiCE CXone Analytics Base App as the Template Name for your app, click Create. This field is case sensitive and the value must be entered exactly as shown.
You can check on the status of your app creation the Data Manager. Data Manager can be found in the Setup menu.