

Use the email feature in Salesforce Agent (SFA) to receive and send emails. Your administrator must enable this feature. You can send outbound emails by clicking New > Create an email on the agent interface and filling out the necessary fields.
Handle an Inbound Email
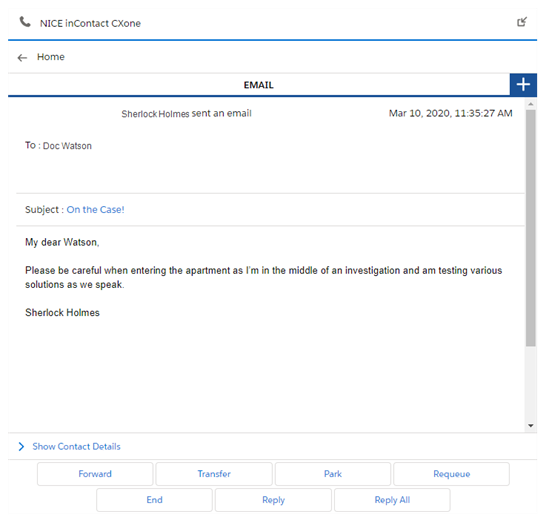
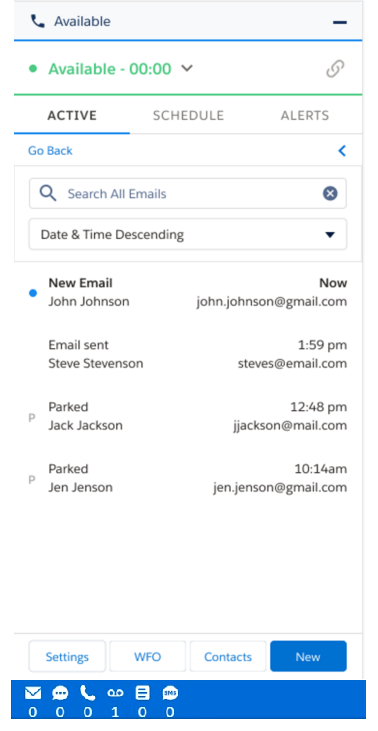
When an email enters your queue, you can accept or decline. You can forward, transfer, park, requeue, end, or reply to an inbound email by selecting the corresponding buttons. If you have more than one email you are currently working on, they will show in the Active tab under the All Emails panel. That panel will be grayed out if you have no active emails. You have the option to use the Search All Emails field or sort them by using the Date & Time Descending field.
-
Click Accept to populate the inbound email in the agent application. The application automatically produces a new contact record.
If you want to, click Popout (indicated by a rectangle with an arrow icon) to send the email to a new window.
- Select the action you want to take and draft your reply.
-
Click Send.
-
If configured by your administrator, complete the task that populates in Salesforce regarding the contact.
Park/Unpark an Email
The email parking feature allows you to park one or more inbound email contacts to handle other contacts, without affecting your post-contact work time, such as ACW![]() State that allows an agent to complete work requirements after finishing an interaction. (after contact work). While on another contact, you can preview your list of parked emails, and may choose to unpark one, or many. Unparked contacts return to your personal queue for redelivery upon completion of an active contact.
State that allows an agent to complete work requirements after finishing an interaction. (after contact work). While on another contact, you can preview your list of parked emails, and may choose to unpark one, or many. Unparked contacts return to your personal queue for redelivery upon completion of an active contact.
- Within the active email contact, click Park to suspend work on the contact and return to an available state
 The availability status of an agent. to accept new contacts.
 -
Your parked email messages are viewable from the Active tab by clicking Home. They are indicated by a P on the left side of the email.
-
If you want to unpark an email, select the email and click Unpark to begin work. If you want to return the email to queue for the skill, click Requeue.
Take Notes During an Email Exchange
-
Click Show Contact Details and write your notes in the white space.
- Use the Name drop-down to select any associated individuals, such as a contact or a lead. Use the Relates To drop-down to select any associated accounts, cases, opportunities, or any other Salesforce object type. If you want to make a Salesforce object an option in the Relates To field, you must click on the corresponding tab to make it active.
- When you are finished, click Hide Contact Details.
Use Quick Replies During an Email Exchange
Use quick replies in Salesforce Agent to send fast, generic responses to customers during an email or chat exchange.
-
Click Show Quick Replies.
-
Use the Skill Level and Favorites tabs to select the appropriate quick reply from the drop-down lists.
-
If prompted, replace variables with specific information.
-
When the quick reply appears in your chat message, modify it if necessary.
-
Click Send.