

You can create groups and add users to them on the Groups page in Admin.
Create a Group
Required permissions: Groups Create or Edit
- Click the app selector
 and select Admin.
 - Go to Groups.
- Click Create New.
- Give the group a unique, descriptive Group Name.
- Click Create Group or Done.
- Assign users to the group. You must have the Users Edit and Groups Edit permission to perform this action.
- Click the Users tab.
- Locate the Add Users section and select the checkbox corresponding to each user you want to add.
- Click Add Users.
- If you want to add notes about the group, click the Notes tab, then click Edit. Type your notes and click Done.
- To return to the groups table, click << Back to Groups.
Audit History for Groups
Required permissions: Groups View
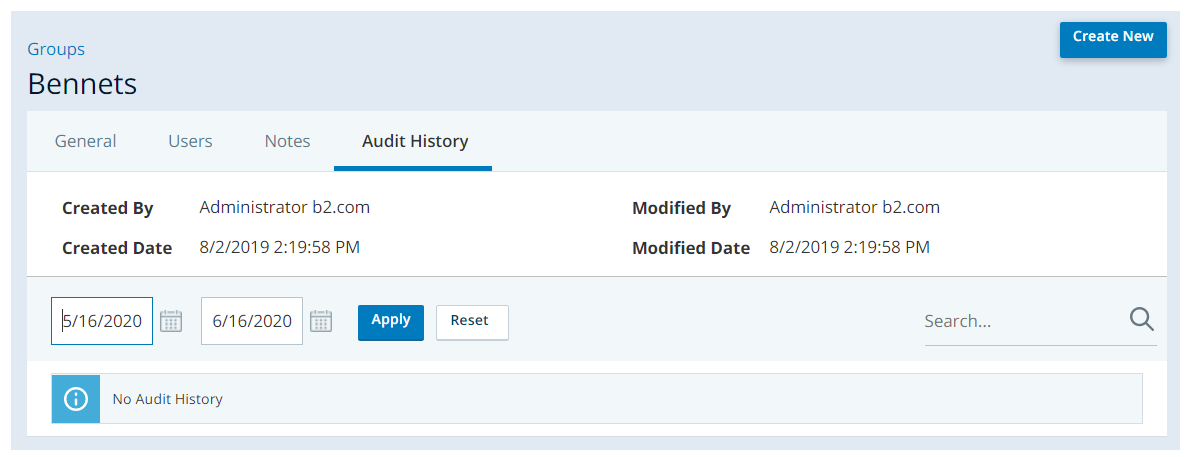
The audit history tab within a group contains a history of that group's modifications, including the fields that were modified, the old value, the new value, and who made the change and when. You can use search and filter tools to limit the table's contents based on your own criteria.