

Content on this page is for a product or feature in controlled release (CR). If you are not part of the CR group and would like more information, contact your Account Representative.
Prior to setting up Proactive WhatsApp, your ![]() High-level organizational grouping used to manage technical support, billing, and global settings for your CXone system.
High-level organizational grouping used to manage technical support, billing, and global settings for your CXone system.
Create a Proactive WhatsApp Skill
-
Click the app selector
 and select ACD.
 -
Go to Contact Settings > ACD Skills.
-
Click Create New > Single Skill.
-
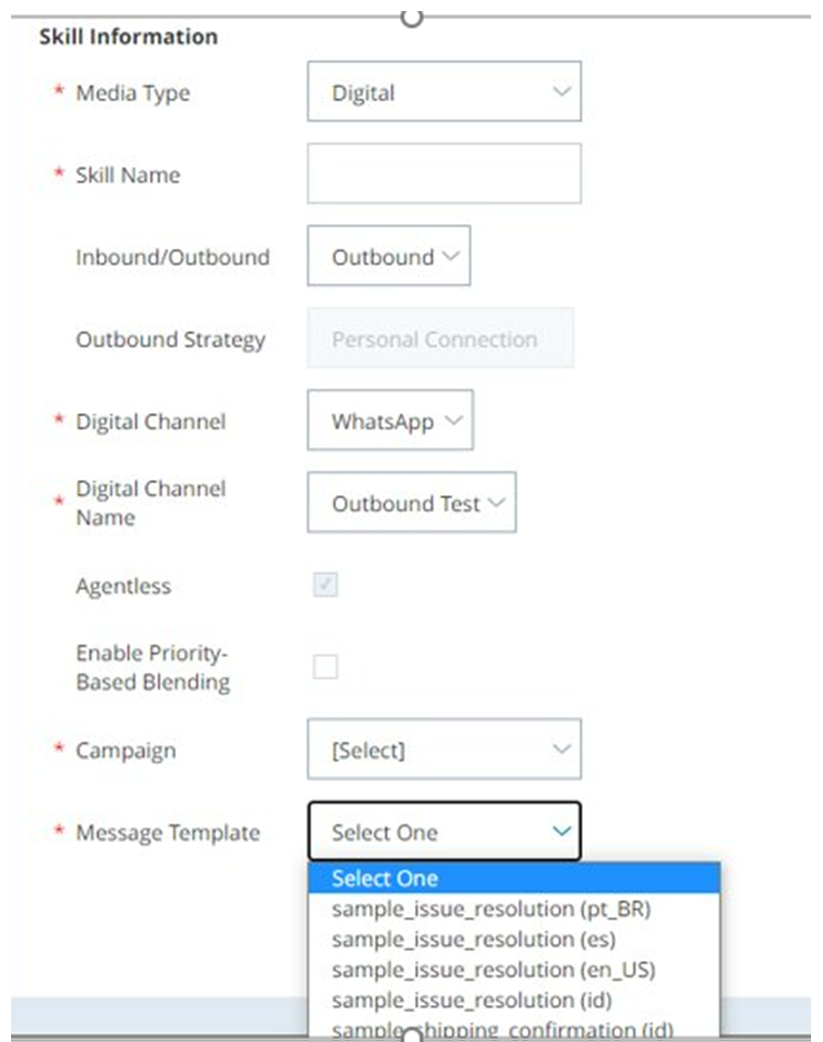
Set the Media Type to WhatsApp, Inbound/Outbound to Outbound, and Outbound Strategy to Personal Connection.
-
Set the Digital Channel to WhatsApp and Digital Channel Name to Outbound.
-
Enter a Skill Name and select the Campaign you want the ACD skill to be part of.
-
Select a Message Template from the drop-down.
-
Configure the remaining optional fields in the Skill Information section as needed.
-
If you want to use screen pops
 A pop-up window with information about the contact that appears on an agent's screen after an event such as connecting to a contact. for this ACD skill, select the Use Screen Pops checkbox. Modify the optional settings in the Screen Pops section if you want to customize your screen pops. You can also do this later.
 -
If you want to test how contacts in this ACD skill change in priority over time compared to other skills, use the Priority Comparison tool. You can also do this later.
-
In the Skills to Compare section, click +.
-
Add Available skills until all skills you want to compare are in the Selected list. You don't need to add the skill you are currently editing; it appears in the graph automatically.
-
Click Done.
-
Use the Elapsed Time and Time Interval fields to define the period of time you want the graph to cover and the time interval
A period between points, limits, or events, such as dates or times. you want to mark a new point on the graph. -
Click Compare.
-
-
Click Create.
