Required security profile permissions: Security Profile Edit or Create.
Security profiles determine the features users can access and the degree of power users have over those features. You can also enable users to run certain reports. You can set the password requirements for users with the security profile.
When you create a new security profile, you can copy an existing one to use as a template and make modifications to it or you can create a blank one where you must specify all permissions you want users to have.
For more information, see Security Profiles Overview.
-
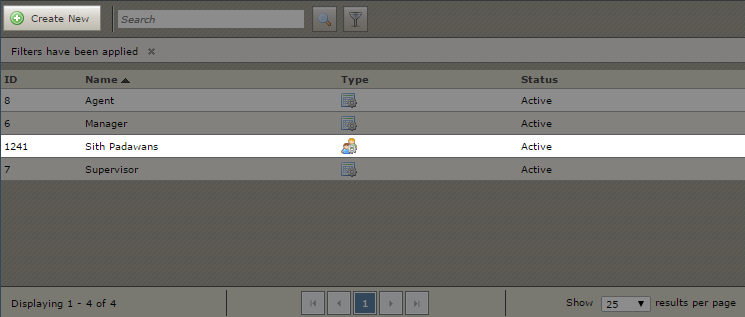
Click Admin Users Security Profiles.
-
If you are creating a new security profile either from scratch or by copying an existing profile, click Create New.
If you are editing an existing security profile, click the table row containing the security profile you want to edit.
You cannot modify the default system security profiles. You can, however, copy them and modify the copies, or you can Create a Security Profile by Copying Another in the next step.
-
Type a unique Name for the security profile and add a Description if you want one. Specify whether you want to create a blank security profile or copy an existing one. If you are copying an existing security profile, select the profile you want to duplicate in the drop-down. Click Next.
If you are editing an existing security profile and want to change the Name or Description, click Edit. Make your changes and click Done.
-
Make any changes you want to the default password policy. See Security Profile Password Policy Tab for details about all available options. When you finish customizing the password policy, click Next.
If you are editing an existing security profile and want to change the password policy, click the Password Policy tab and click Edit. Make your changes and click Done.
-
Enable permissions for features you want users with the security profile to be able to use. If you are not sure which permissions users need to perform certain tasks, consult the documentation for the task you want them to do. Remember that group permissions enable the same level of access for all permissions in the group.
When you finish, click Next.
Some sections of the Permissions modal are collapsed by default. To expand or collapse a section, click the arrows on the right side of the corresponding row.
If you are editing an existing security profile and want to modify the feature permissions, click the Permissions tab and click Edit. Make your changes and click Done.
-
Enable permissions for reports you want users with the security profile to be able to run. If you are not sure which permissions users need to run a report, consult the documentation for the report you want to enable. Remember that group permissions enable users with the security profile to run all reports in the group. When you finish, click Next.
Some sections of the Permissions modal are collapsed by default. To expand or collapse a section, click the arrows on the right side of the corresponding row.
If you are editing an existing security profile and want to modify the reporting permissions, click the Reports tab and click Edit. Make your changes and click Done.
-
Enable users with the security profile to access data you want them to be able to see or change. You can enable or restrict access to skills, teams, security profiles, and business units. Click All & Future to enable access to all data of a certain type, None to restrict access to all data of a certain type, or Custom to enable access to only some data of a certain type. For instructions, see Enable Users to Access Data.
If you are editing an existing security profile and want to modify the restricted data, click the Restrict Data tab and click Edit. Make your changes and click Done.
- Assign the security profile to the users you want to have the permissions you set up. A user cannot have two security profiles at the same time.
See Also
- Copy a Security Profile — for instructions for creating a new security profile by copying an existing one.
- Security Profile Details Tab — for details about all options available in the Name & Information step of the security profile creation wizard.
- Security Profile Password Policy Tab — for details about all options available in the Password Policy step of the security profile creation wizard.
- Security Profile Permissions Tab — for details about all options available in the Permissions step of the security profile creation wizard.
- Security Profile WFO Tab — for details about all options available in the WFO step of the security profile creation wizard.
- Security Profile WFM Tab — for details about all options available in the WFM step of the security profile creation wizard.
- Security Profile Reports Tab — for details about all options available in the Reports step of the security profile creation wizard.
- Security Profile Restrict Data Tab — for details about all options available in the Restrict Data step of the security profile creation wizard.