Customer Integration Tasks
These configuration tasks should be performed by your Avtec Administrator.
Detailed steps for configuring Avtec Scout can be found in Avtec’s documentation, which is available on the Avtec’s website or from your Avtec vendor. You should always use the appropriate guides from Avtec to install and configure Avtec components.
Instructions in these procedures assume that your Avtec environment uses the default settings. You should note any non-default settings and discuss them with your Uptivity installation team.
Channel Port Mappings
Each recording channel in NICE Uptivity will “listen” for RTP/UDP packets on two ports (Uptivity will be setting the starting port at 7000). This means that Uptivity Channel 1 will be listening on ports 7000 and 7001, Uptivity Channel 2 on ports 7002 and 7003 – this pattern continues until you reach your channels limit.
Uptivity recommends that each endpoint’s TX and RX are both sent to the same channel. For example, TX using the channels first port 7000 and RX using the channels second port 7001. The next endpoint that needs to be configured would use 7002 and 7003.
For consoles, Uptivity recommends setting the Select Recorder to the channels first port and the Unselect Recorder to the channels second port.
Do not add more than one console or endpoint to a channel. If you accidentally add more than one console or endpoint to a channel, calls will overlap.
Configure a Console
A console contains a collection of endpoints (radios or phones) that a dispatcher can use. To configure a console:
- Open a web browser and navigate to the Avtec console that you want to configure. For example:
http://0.0.0.0:3082
(Change 0.0.0.0 to the IP address of your console.) - On the Avtec login page, log in with your Avtec username and password.
-
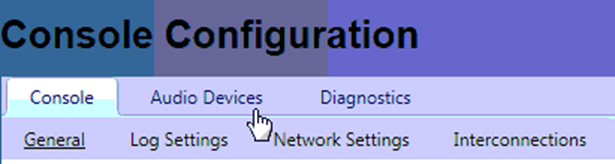
Click Audio Devices.
- In the New Device drop-down menu, select Console Select Recorder.
- Click Add.
-
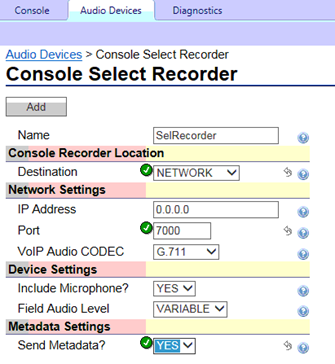
On the Console Select Recorder page, configure the following settings:
- For the Destination setting, select NETWORK in the drop-down menu.
- In the IP Address field, enter the IP address of the recorder.
- In the Port field, enter the port number of the channel that the console will use to record.
-
For the Send Metadata? setting, select YES in the drop-down menu.
- Click Add. The Console Select Recorder is displayed in the AP Ports list.
- In the New Device drop-down menu, select Console Unselect Recorder.
- Click Add.
-
On the Console Unselect Recorder page, configure the following settings:
- For the Destination setting, select NETWORK in the drop-down menu.
- In the IP Address field, enter the IP address of the recorder.
- In the Port field, enter the port number of the channel that the console will use to record.
- For the Send Metadata? setting, select YES in the drop-down menu.
-
Click Add. The Console Unselect Recorder is displayed in the AP Ports list.

Configure Endpoints
Avtec Endpoint recording is achieved by configuring an Audio Forwarding Driver, which is part of Avtec’s VPGate service.
-
Open a web browser and navigate to the Avtec Console that you want to configure
http://0.0.0.0:3082
(Change 0.0.0.0 to the IP address of your console.)
- On the login page, log in with your Avtec username and password.
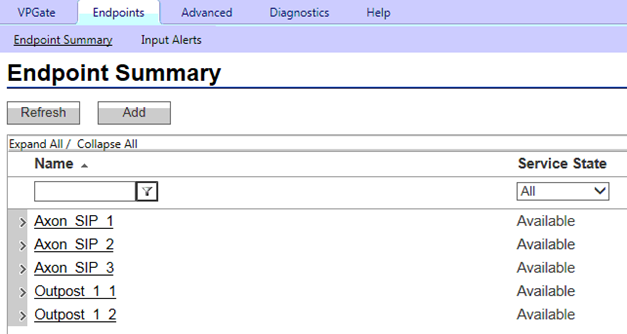
- Click Endpoints.
-
On the Endpoint Summary page, select the endpoint that you want to record.
- On the Endpoint Configuration page, in the Drivers section, select a driver from the drop-down menu.
-
Click Add driver.
If you use the Audio Forwarding Driver, you must specify 1 for the Driver Processing Order setting.
- In the Metadata Settings section, select YES for Send Metadata (General) and for Send ANI Alias settings.
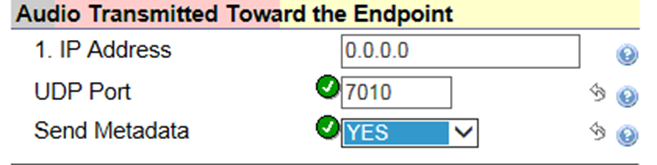
- In the Audio Transmitted Toward the Endpoint section, enter the IP address of the recorder in the IP Address field.
- In the UDP Port field, enter the first port number of the channel that the console will use to record.
- Select YES for Send Metadata.
-
In the Audio Received From the Endpoint section, enter the IP address of the recorder in the IP Address field.
-
In the UDP Port field, enter the second port number of the channel that the console will use to record.
-
Select YES for Send Metadata.
-
Click Add. The endpoint that you configured should appear on the Endpoint Summary page.


|
|
|


