

In Agent Workspace for Salesforce Voice (Agent for Service Cloud Voice), agents can assign dispositions, tags, and notes to calls. You can set up data mapping so that these values appear in voice call records in Salesforce. For example, if the agent assigns the call a disposition of Resolved, the Disposition field in the voice call record displays a value of Resolved. These values also map to the Primary Disposition, Disposition Comments, and Tags fields of the Active Contacts and Contact History reports in NiCE CXone.
Agents must refresh the voice call record after a call is disconnected to see the mapped data. To do this, select the drop-down arrow  next to the selected voice call record and click Refresh Tab.
Complete each of these tasks in the order given.
Before You Begin
In NiCE CXone, ensure dispositions and tags are assigned to the voice skills![]() Used to automate delivery of interactions based on agent skills, abilities, and knowledge. you want to enable data mapping for.
Used to automate delivery of interactions based on agent skills, abilities, and knowledge. you want to enable data mapping for.
Verify Fields in the Voice Call Object
In order for dispositions, tags, and notes to appear in voice call records, the voice call object in Salesforce must have these fields:
-
CXNotes
-
Disposition
-
Tags
Those fields will appear in voice call records and offer a place for the dispositions, tags, and notes to appear. They are automatically imported into the voice call object when you install the latest version of Agent Workspace for Salesforce Voice (Agent for SCV). Verify that these fields have been imported into your voice call object.
-
Open Salesforce and click Setup
 in the top right corner. Launch the Setup application.
 -
Click the Object Manager tab at the top, then select the Voice Call object.
-
Click Fields & Relationships in the left menu. Make sure that CXNotes, Disposition, and Tags are listed on the page that appears. If they are not listed, you do not have the latest version of Agent Workspace for Salesforce Voice (Agent for SCV) installed. Install it, then repeat these steps.
Configure Fields in the Voice Call Object Page Layout
Next, open the page layout of the voice call object in Salesforce to check that the CXNotes, Disposition, and Tags fields appear there. You can also configure where in the voice call record they appear.
-
In the Object Manager, with the voice call object selected, click Page Layouts in the left menu.
-
Click the drop-down arrow
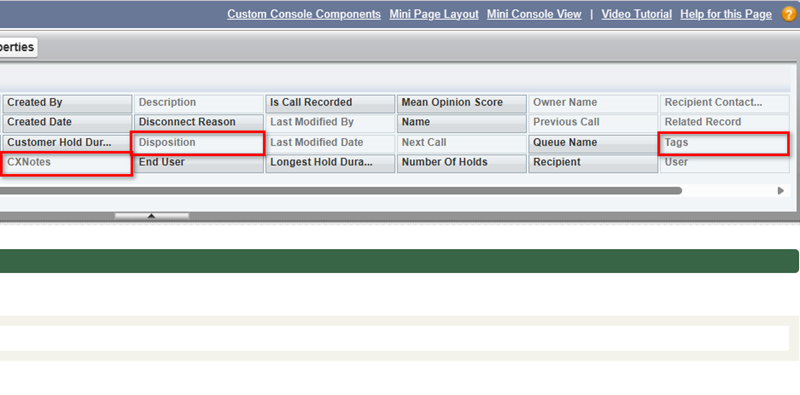
 next to Voice Call Layout, then click Edit. Check that CXNotes, Disposition, and Tags are listed at the top.
 -
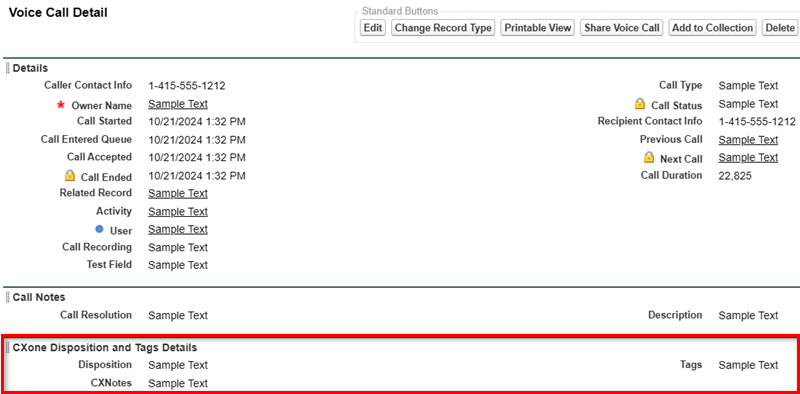
To change where in the voice call record the fields appear, drag and drop them around the sections under Voice Call Detail. You can customize the page layout to fit your needs.
 View image
In this example, the Disposition, Tags, and CXNotes fields appear in a separate section called NiCE CXone Disposition and Tags Details.
Check an Example Voice Call Record
To ensure that data mapping has been set up, open a voice call record and test.
-
Open any existing voice call record. To do this, click App Launcher
 in the top left and search for voice calls.
 -
Verify that the Disposition, Tags, and CXNotes fields appear.