Managing Roles
Required Permission — Allow User Administration
Roles are collections of permissions that determine what users can do in Uptivity. The New Role page enables you to create new roles and edit existing roles. Roles are named collections of permissions that define what users can and cannot do in Uptivity. For more information, see Roles and Permissions Overview.
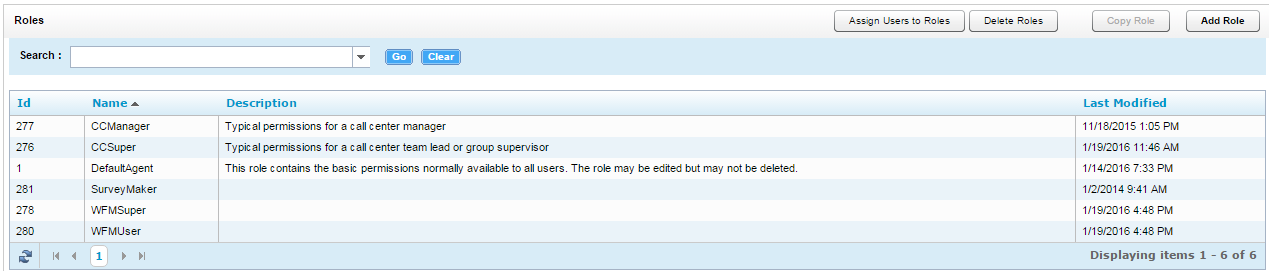
This topic assumes you are on the Roles page. To navigate to this page in the NICE Uptivity Web Portal, click Administration → Permissions → Roles.
Create Roles
To create a role from scratch:
- Click Add Role.
- Enter a Role Name and enter a Description.
- Select the permission(s) needed for the role
 A type of categorical setting that gives users access to the information and functionality they need based on permissions. Roles are assigned to users after permissions are added.. Learn more about this step
The following sets of permissions can be specified on the New Role page:
- General Administration and System Permissions
- Coaching Permissions
- Achievement Permissions
- Reporting Permissions
- Live Monitor Permissions
- Player Permissions
- Survey Permissions
- Analytics Permissions
- NICE Uptivity On-Demand Permissions
- Permissions Reference
- Permissions Reference
- User Edit Field Permissions
- Performance Management Permissions
- If you want to, associate the role with one or more QA Groups. The right and left arrow icons allow you to move groups from one column to the other.
- If you want to, associate the role with one or more ACDAcronym for Automatic Call Distributor - A device used to manage and distribute incoming calls to a specific group of terminals. Groups.
Learn more about this step
The large field displays a list of any ACD groups associated with this role. The smaller field allows you to enter new ACD groups to be added to the list. You must enter the name of the ACD group exactly as it appears in the PBX.
The add icon (designated by a green plus sign) allows you to add a group to the list. The delete icon (designated by the red x) allows you to remove a group from the list.
- If you want to, associate the role with one or more ACD Gates.
Learn more about this step
The large field displays a list of any ACD gates associated with this role. The smaller field allows you to enter new ACD gates to be added to the list. You must type the name of the ACD gate exactly as it appears in the PBX.
The add icon (designated by a green plus sign) allows you to add a gate to the list. The delete icon (designated by the red x) allows you to remove a gate from the list.
- Click Save.
To copy an existing role:
- Select a role and click Copy Role.
- Enter a name for the role and then click Save.
Assign Users to Roles
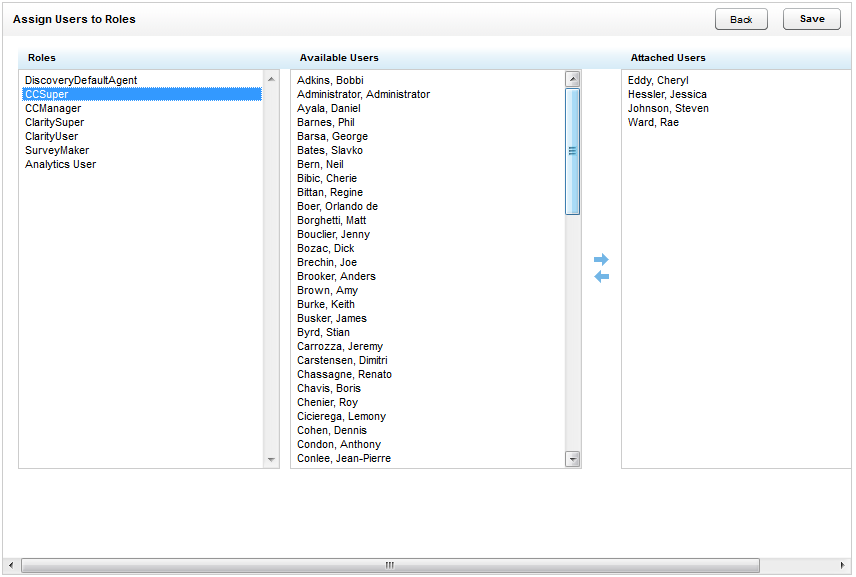
On the Assign Users to Roles page, the Available Users column displays the names of all users who are not currently assigned to the selected role. The Attached Users column displays a list of users assigned to the currently selected role. Users are listed in alphabetical order by last name.
Use the right and left arrow icons to move groups from one column to the other.


