Create Categories
Overview
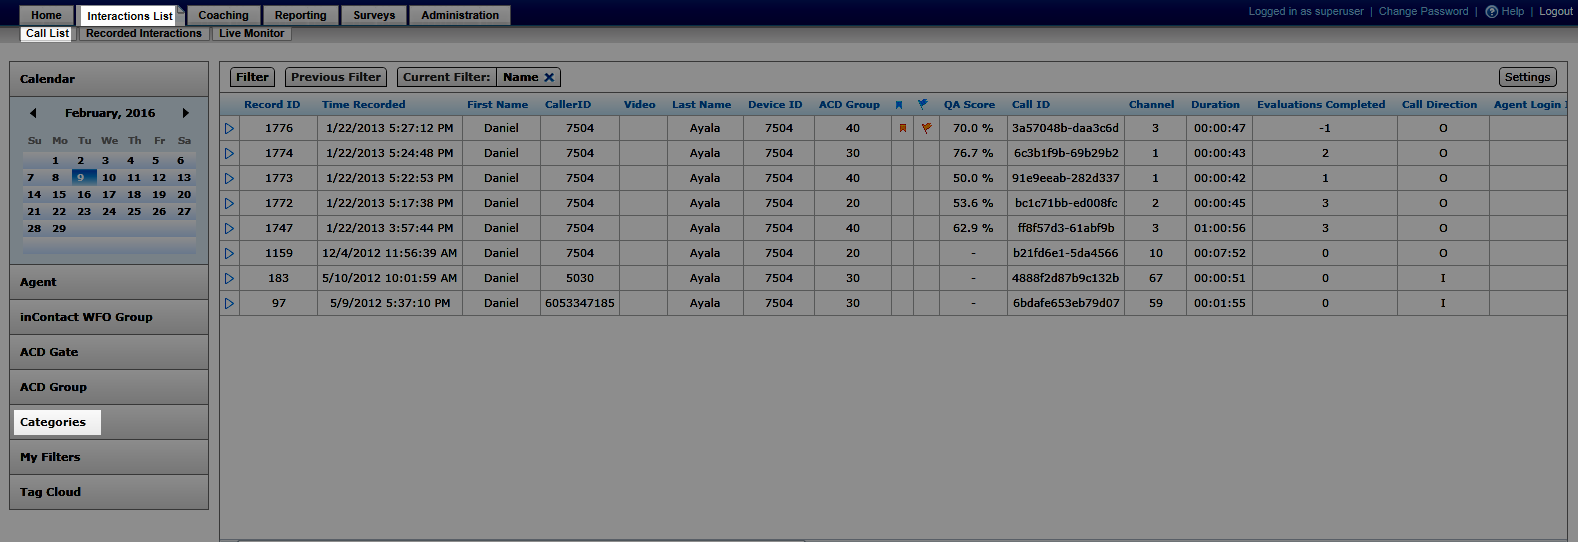
The NICE Uptivity Web Portal allows you to search for and work with recorded interactions in your Uptivity system. You can create categories to organize recordings in ways that make sense to you and then filter by those categories.
This topic explains how to create a category.
For more information, see Finding Recordings Overview.
Images in this topic are taken from the Call List. If you are using Recorded Interactions, things may look a little different but the steps remain the same.
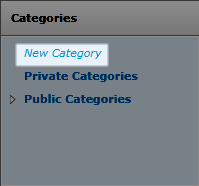
- In the NICE Uptivity Web Portal, click Interactions ListCall List (or Recorded Interactions) Categories.

-
Click New Category.
If you are using the Recorded Interactions, click one of the top-level categories (Private, Public, or Shared) to make the New button appear. Shared categories are only supported in the Recorded Interactions.
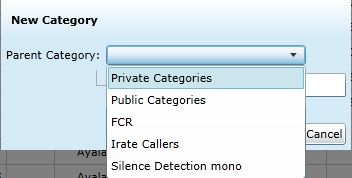
- Select a Parent Category from the drop-down list.
- Enter a name for the category in the Title field.
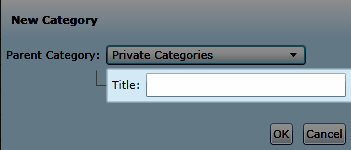
- Click OK.
See Also
- Quick Filters — for more information on the Categories quick filter
- Filters — for more information on using categories in custom filters