Add Users in Hybrid Deployments
Required Central Security Profile — iWFOAdmin
Required inContact WFO Permission — Allow User Administration
Overview
Users are individuals who appear in, have access to, and can perform tasks in the inContact WFO Web Portal.
This
For more information, see Hybrid Users Overview.
Only the fields discussed in this
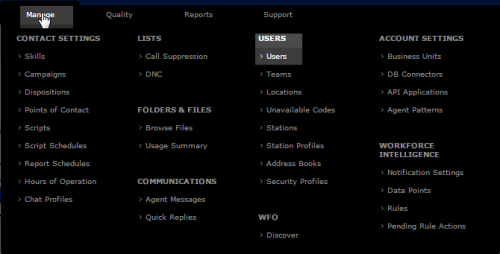
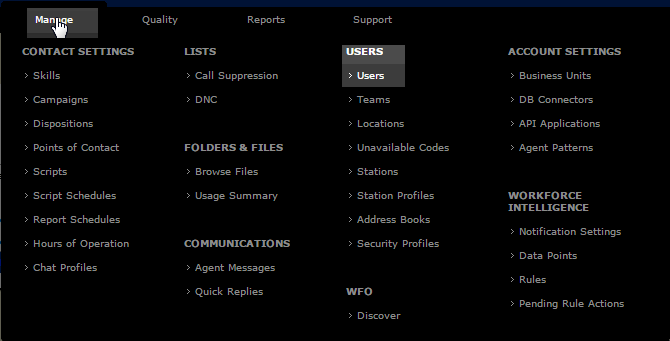
- In Central, navigate to Manage Users Users.
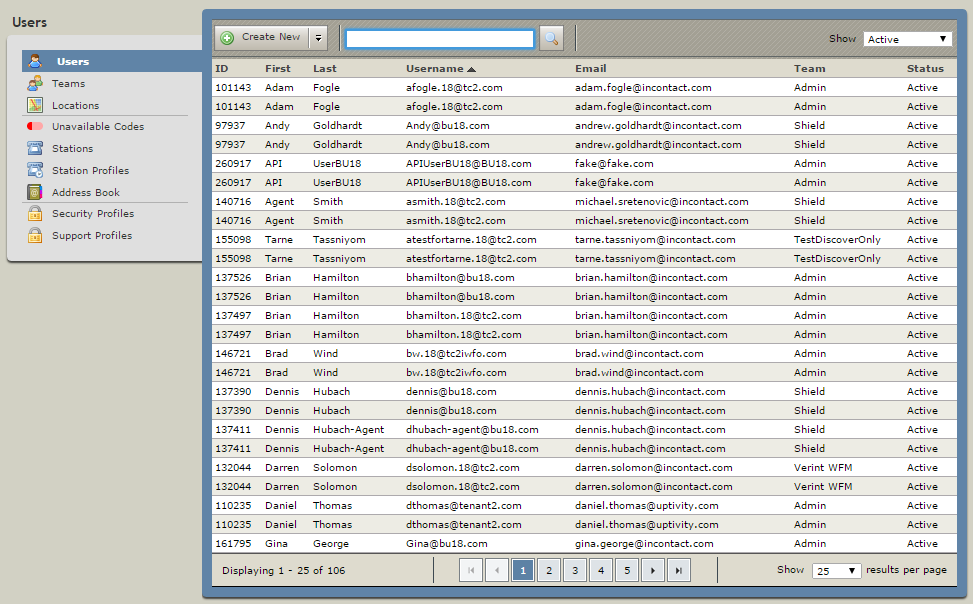
- Click Create New and select Single User.
- Type the user's First Name and Last Name in the appropriate fields.
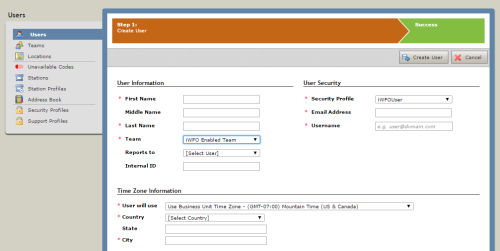
- For Email Address, type either your email address or a dummy address. Central automatically sends an email to this address with a temporary password and instructions for changing it. Since your users will not need to log in to Central, this prevents them from receiving a potentially confusing email.
- For Team, select the appropriate team from the drop-down list (iWFO Enabled Team for recorded users and iWFO Not Enabled Team for users who will not be recorded).
- For Security Profile, select the appropriate security profile from the drop-down list (iWFOUser for most users and iWFOAdmin for administrative users who will manage users in Central).
- Type a Username in the format of an email address (such as name@something.com).
- Under Time Zone Information, select Use Business Unit Time Zone from the drop-down list for the User will use field.
- Select your organization's Country and State from the drop-down lists for each field.
- Type your organization's city name in the City field.
- Click Create User. No other configuration is required if this user will not be recorded; skip to step 17.
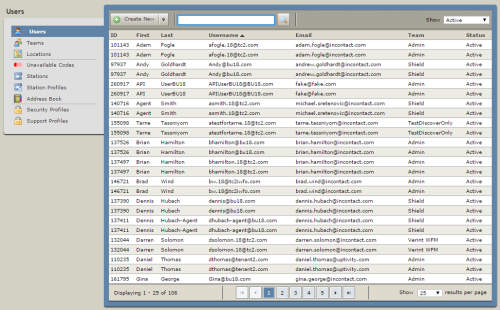
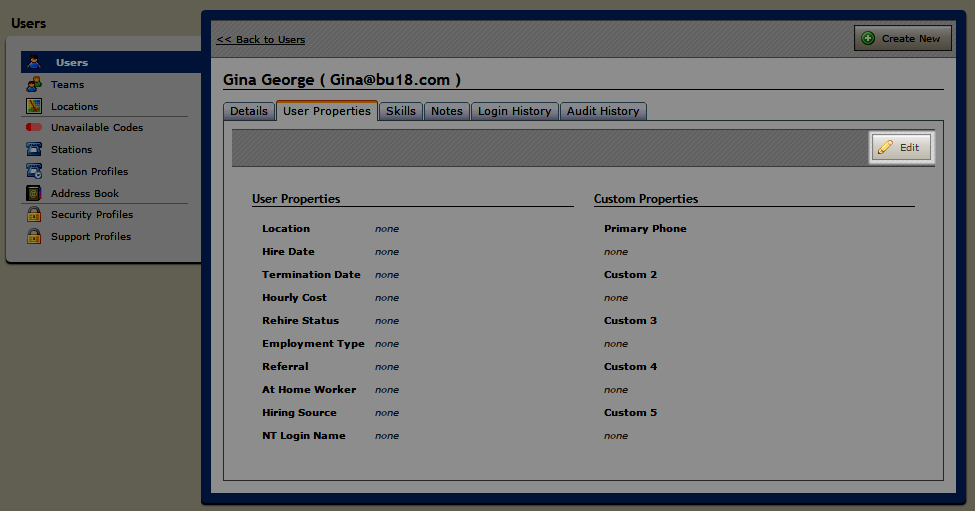
- Locate and click the user in the Users List.
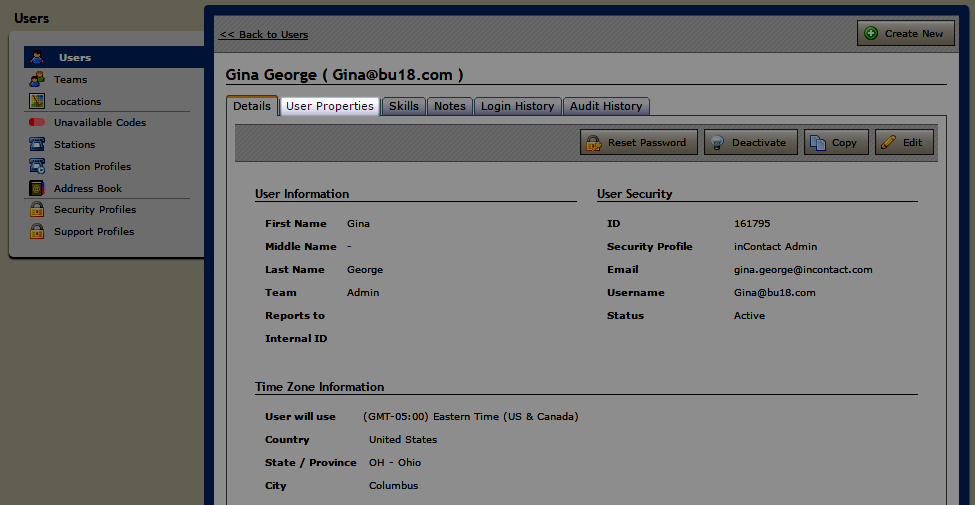
- Click the User Properties tab.

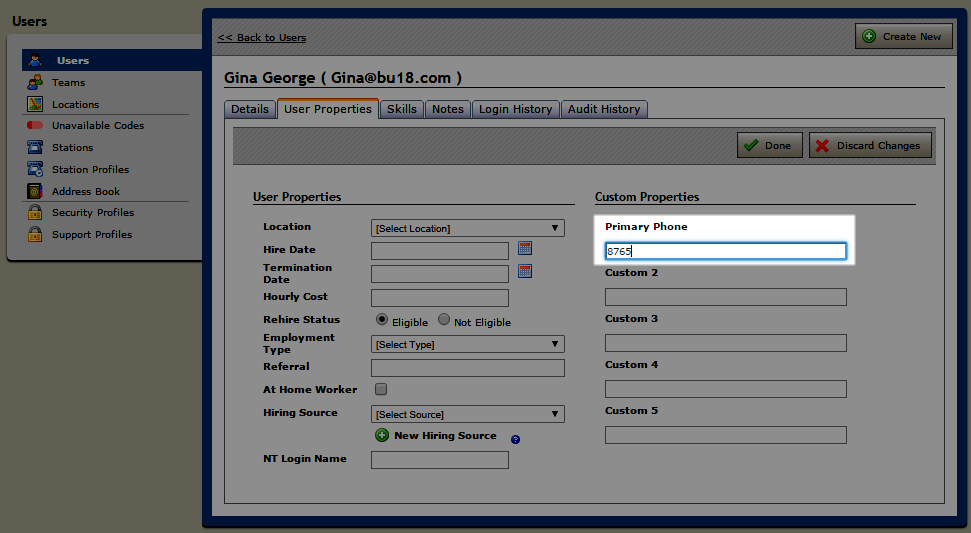
- Click Edit.

- In the Primary Phone field, type the agent's phone number.
The phone number must be unique for each agent. Duplicate phone numbers can cause serious issues with your inContact WFO system.

- Click Done and allow time for the new account to synchronize (up to 30 minutes).
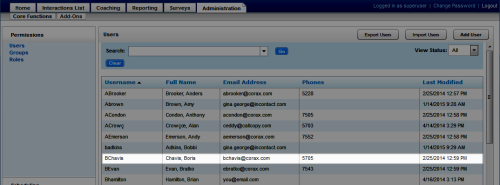
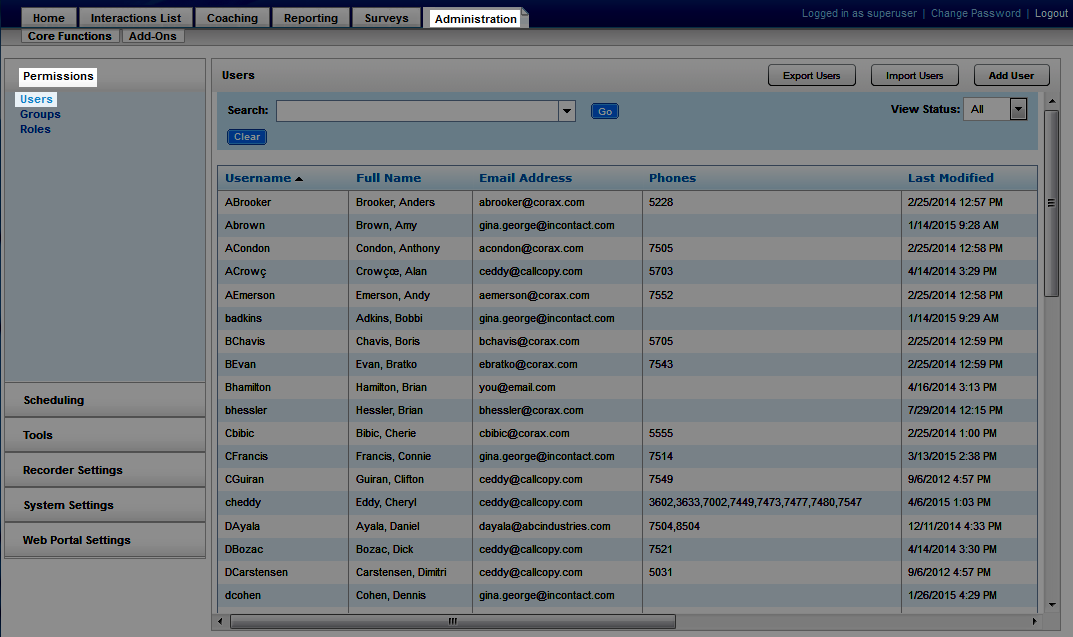
- In the inContact WFO Web Portal, click AdministrationPermissionsUsers.
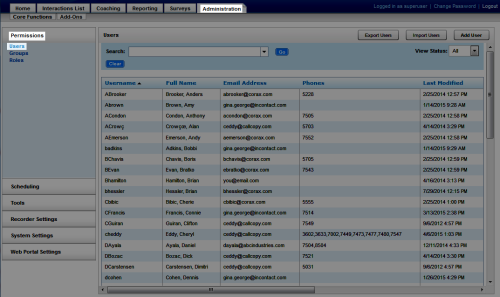
- Locate the new user's account and double-click to open it.
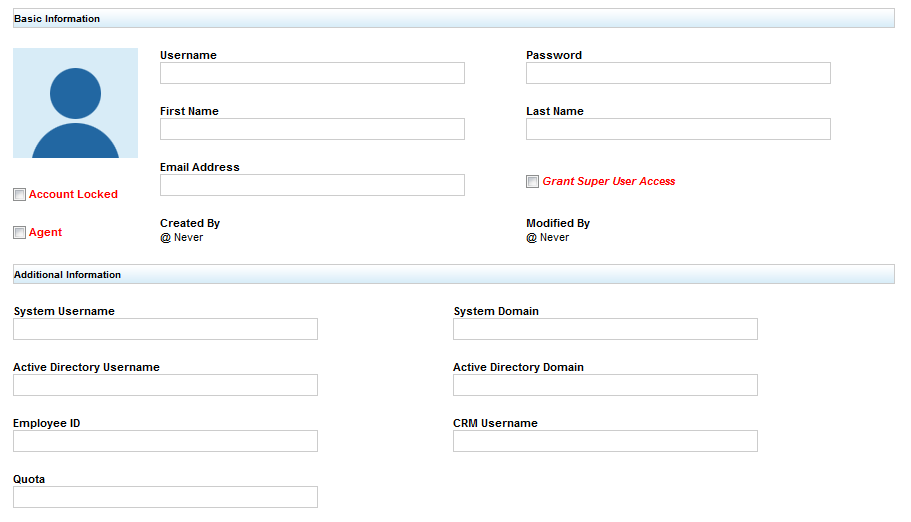
- Complete all fields used by your organization.

- Optional: Clear the Agent checkbox if this user will not be recorded.
- Select a Time Display Format.

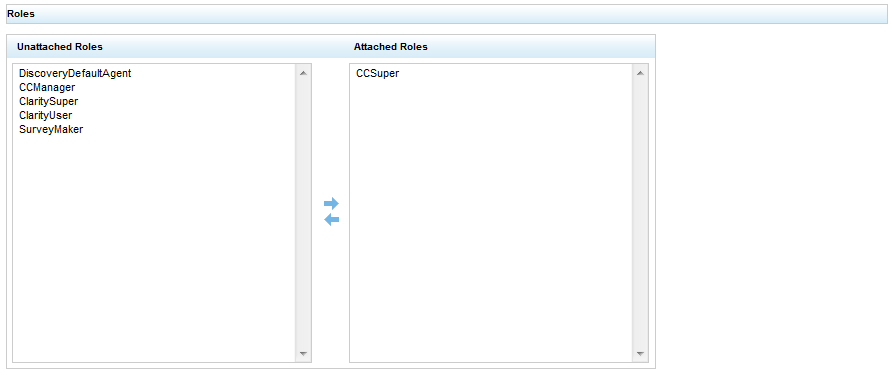
- Assign one or more roles to the user.

- Click Save.


See Also
- Create Single User Modal Reference — for details on user account fields in Central
- Page Details: New User — for details on user account fields in the inContact WFO Web Portal
- Details: Configure Users for Recording — for additional required steps if the user's audio, screen, or both should be recorded