Required security profile permissions: Groups Create or Edit
Groups are collections of users that you define in a way that makes sense for your organization. They control access to recordings, evaluations, and other data in inContact WFO, and filter reports. This topic guides you through the process of creating a new group or modifying an existing one.
For more information, see Groups Overview.
- Click Admin Users Groups. The groups table opens.
-
If you are creating a new group, click Create New.
If you are modifying an existing group, use the page links on the bottom of the table, or the search feature at the top, to locate the group you want to modify. Click anywhere in the row to open the group.
If you cannot find the group you want to modify, change the Show drop-down in the top right corner of the table to All. The table displays all active and inactive groups.
When the group opens on the General tab, click Edit.
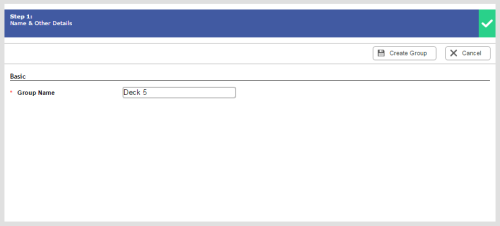
- Give the group a unique, descriptive Group Name.
- Click Create Group or Done.
- Assign users to the group.
- OPTIONAL: If you want to add notes about the group, click the Notes tab, then click Edit. Type your notes and click Done.
- To return to the groups table, click << Back to Groups.
See Also
- Activate/Deactivate a Group — for instructions for deactivating an active group or activating an inactive one.
- Create Group Page — for details about all options available when you create a new group.
