Required Permission — Allow Group Administration
QA Groups are collections of users you define in a way that makes sense for your organization. For more information, see QA Groups Overview.
On this page:
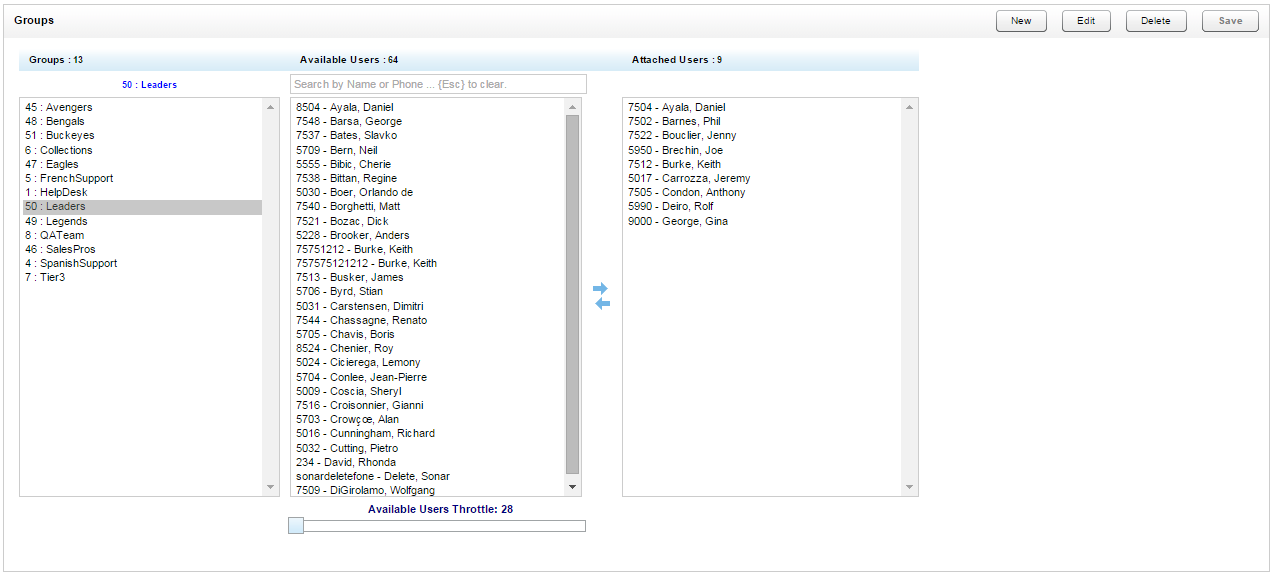
- The Groups column displays each group's name and unique identifier (that is, ident or ID number).
- The Available Users column displays a list of available users in alphabetical order by last name. A user may appear multiple times if they have more than one value in the Phones field of their user account. Users with no associated phone ID appear with the designation "No Phone Assigned" and cannot be added to an QA Group unless you first enter a value in the Phones field of their user account.
- The Attached Users column displays a list of users attached to the currently selected QA Group. Users are listed in alphabetical order by last name. A user may appear multiple times if they have multiple extensions (values in the Phones field of their user account) assigned to the group.
To create an QA Group:
- In the NICE Uptivity Web Portal, click Administration > Permissions > Groups.
- Click New.
- Type a unique name for the new group and then click Save.
- You can add user(s) to the Attached Users list for the group.
Only agents can be added QA Groups. Agents are users who have the Agent field selected and at least one extension or phone number entered in the Phones field in their user accounts.
To edit a QA Group:
- In the NICE Uptivity Web Portal, click Administration > Permissions > Groups.
- Click a group name.
- Click Edit.
- Type a new name for the group and click Save.
- You can add or remove user(s) from the Attached Users list.
- Click Save.


