Create Recording Schedules Based on Number of Calls
Overview
Schedules are collections of business rules that govern recordings in Uptivity.
This topic explains how to create a schedule that will record a specified number of calls for a single agent.
For more information, see Recording Schedules Overview.
Recording schedules require you to set an archive action. Therefore, you should create archive actions before schedules. See Create Archive Actions.
- In the NICE Uptivity Web Portal, click AdministrationSchedulingCreate Schedule.
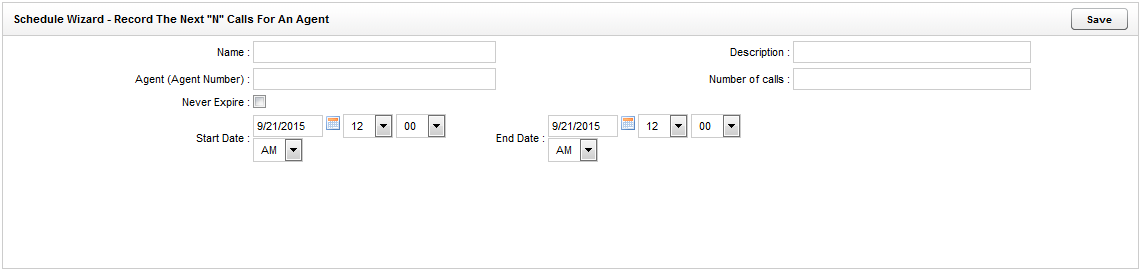
- Click Record the Next N Calls for an Agent.
- Type a Name for the schedule.
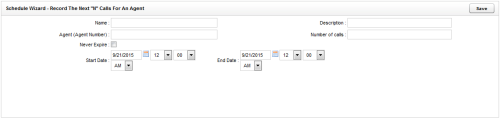
- Optional: Type a Description for the schedule.
- For Agent Number, type the phone ID for the agent to be recorded.
- Type the Number of Calls to be recorded.
- Optional: Select Never Expire if the schedule should remain in effect until the specified number of calls is reached, regardless of how long it takes.
- Optional: Use the date and time selectors to specify a Start Date and an End Date for the period during which Uptivity will attempt to record the specified number of calls.
If you do not specify a date range, you must select the Never Expire checkbox or Uptivity will not record any calls under this schedule. If you do specify a date range, the schedule will be considered complete when the End Date is reached, even if the specified number of calls has not been recorded.
- Click Save.
See Also
- New/Edit Schedule Page — for information on the criteria and parameters that can be configured on this page