Categorize Recordings
Categories allow you to organize recordings into relevant groupings for future reference.
This topic explains how to assign recordings to categories.
For more information, see Working with Recordings Overview.
Categorizing a Single Interaction
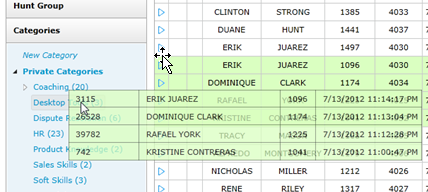
Images in this topic are taken from the Call List. If you are using Recorded Interactions, things may look a little different but the steps remain the same.
If you are using the Recorded Interactions page, you must use the alternative method described in step 2.
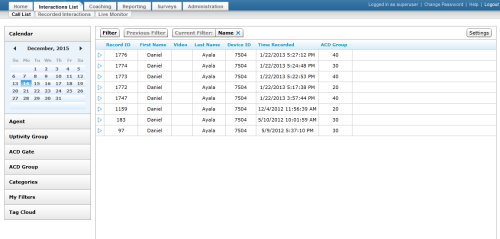
- In the NICE Uptivity Web Portal, click Interactions List Call List or Recorded Interactions.
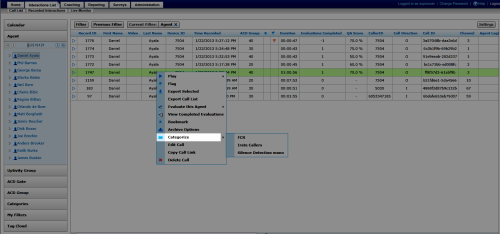
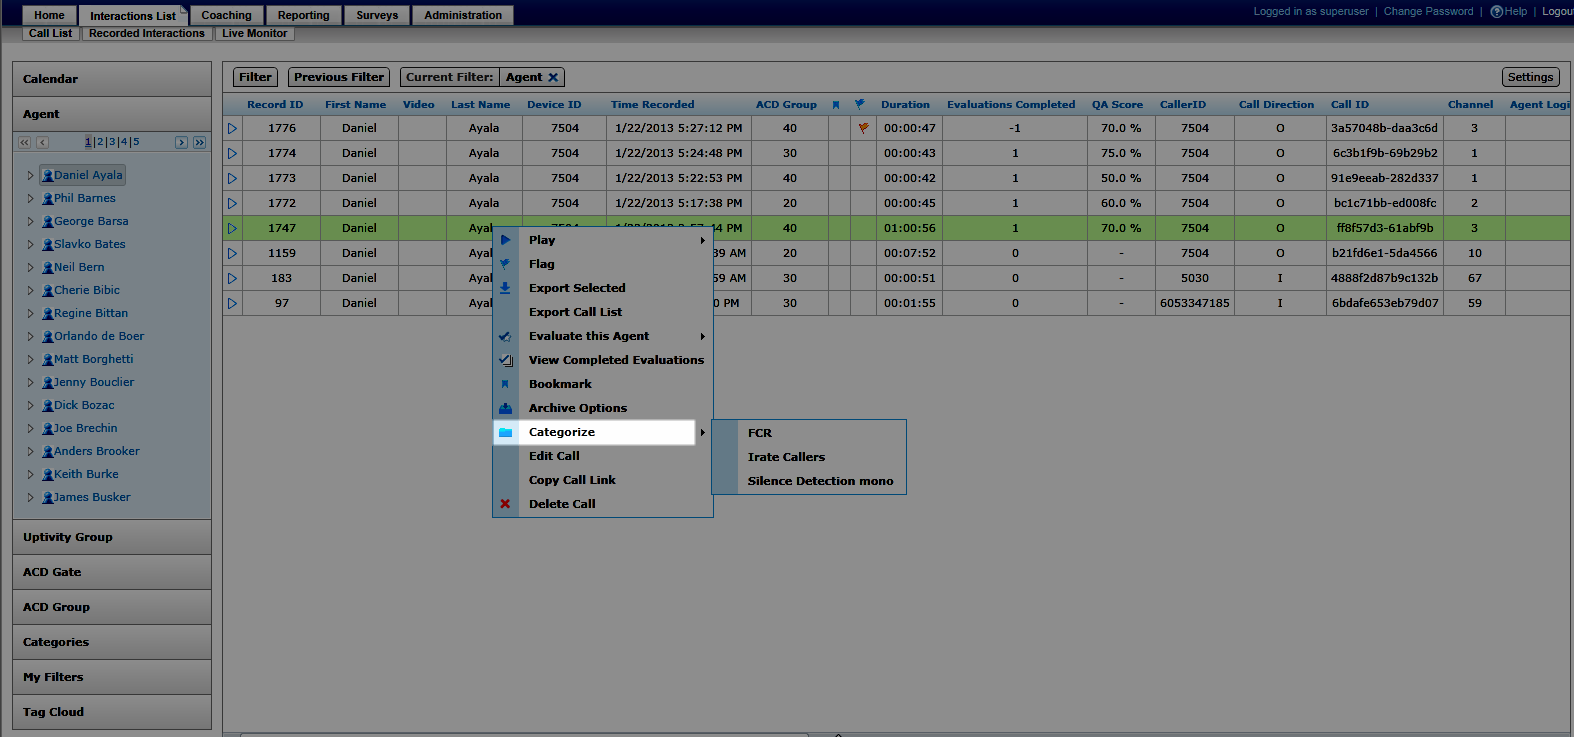
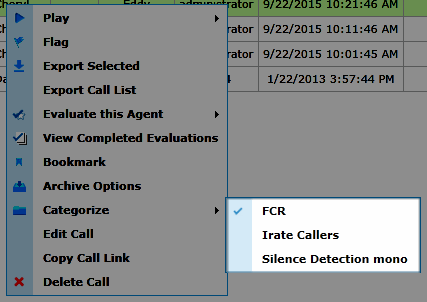
- Locate the recording, right-click, and select Categorize from the pop-up menu.
 Alternative
Click the interaction, drag it to the Quick Filter Menu, and drop it in the category. The next step is not needed.
- Select the category for the call from the second-level menu.

If an interaction is already assigned to a category, a check mark will appear next to the category name. Selecting that category removes the interaction from that category.

Categorizing Multiple Interactions
This functionality is not available on the Recorded Interactions page.
- In the NICE Uptivity Web Portal, click Interactions List Call List or Recorded Interactions.
- Using standard Windows methods, select multiple interactions.
- Release the [Shift] (or [Ctrl]) key and then press and hold the [Ctrl] key. Click once on any of the highlighted calls (this will deselect it for the moment).
- Left-click the same call, hold the mouse button down, and drag all the calls to the Quick Filter menu, then drop them in the desired category.

See Also
- Finding Recordings Overview — for more information on locating specific recorded interactions
- Call List — for more information on this page
- Recorded Interactions — for more information on this page
- Categories Quick Filter — for more information on categories