Edit Active Directory (AD) Groups for Role Synchronization
Required Permission — Allow System Configuration
Roles are collections of permissions that determine what users can do in Uptivity. You can relate roles to Active Directory (AD) group names so that user roles, associated QA Groups, and permissions are synchronized at each login based on AD group membership. This feature is not available in Hybrid deployments.
This topic explains how to edit the groups synchronized with a specific role.
For more information, see Roles and Permissions Overview.
After making any changes on the Security page, the system may require an IIS restart for the changes to be reflected.
-
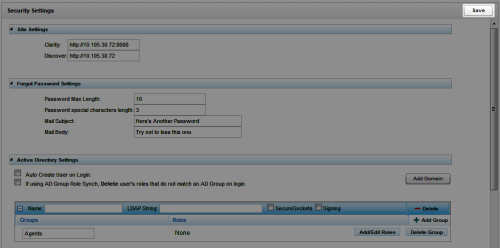
- Under Active Directory Settings, ensure the checkboxes are all selected.
The checkboxes must be selected for the user to have access to features in (Undefined variable: uWFO.NUShort).
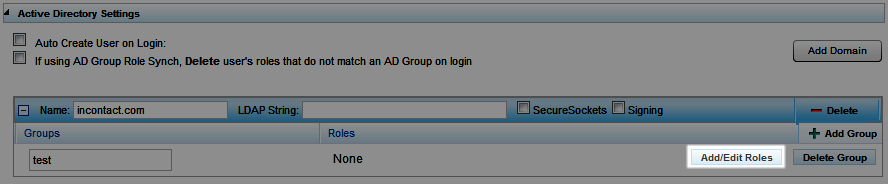
- Click Add/Edit Roles for the desired group.

Adding a role is necessary for the feature to work, although it is not marked as required by the system.
- Use the highlighted icons to edit the roles synchronized with this group by moving them to and from the Assigned and Unassigned columns, then click Apply.
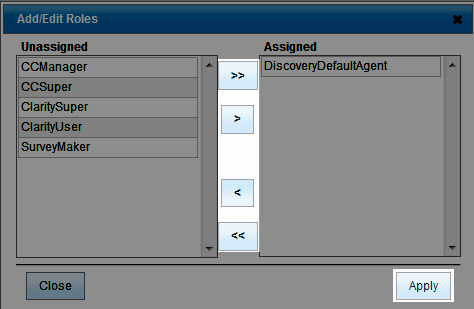
- Click Save.