Upload Widgets
Required Permission: Allow System Configuration.
Overview
Uptivity offers a variety of widgets that display news, QA-related information, call center performance metrics, and so forth.
This topic explains how to upload widgets for use in the NICE Uptivity Web Portal.
For more information, see Uptivity Widgets Overview.
Adding or deleting a widget cycles the application pool in IIS, and requires a page refresh and new login to see changes. This will force a logout for all connected users and should be performed outside of regular business hours.
This task must be performed on the server that hosts the NICE Uptivity Web Portal. You cannot simply log in to the portal from your workstation.
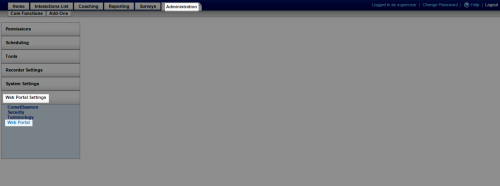
- In the NICE Uptivity Web Portal, click Administration Web Portal Settings Web Portal.
- In the Home Tab Widgets section, click Widget Upload.
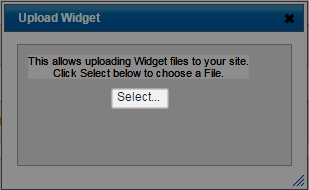
- Click Select.
- Navigate to the directory on the server where widgets are stored (typically \Program Files (x86)\CallCopy\WebPortal\bin).
- Select the widget .dll file to be uploaded and click Open.
- Optional: If you are uploading a new version of an existing widget, click Overwrite File.
See Also
- Web Portal Settings — for more information on the page where this task is performed


