Create Categories
Overview
The
This topic explains how to create a category.
For more information, see Finding Recordings Overview.
Images in this topic are taken from
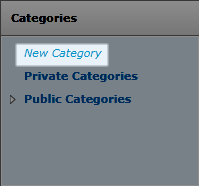
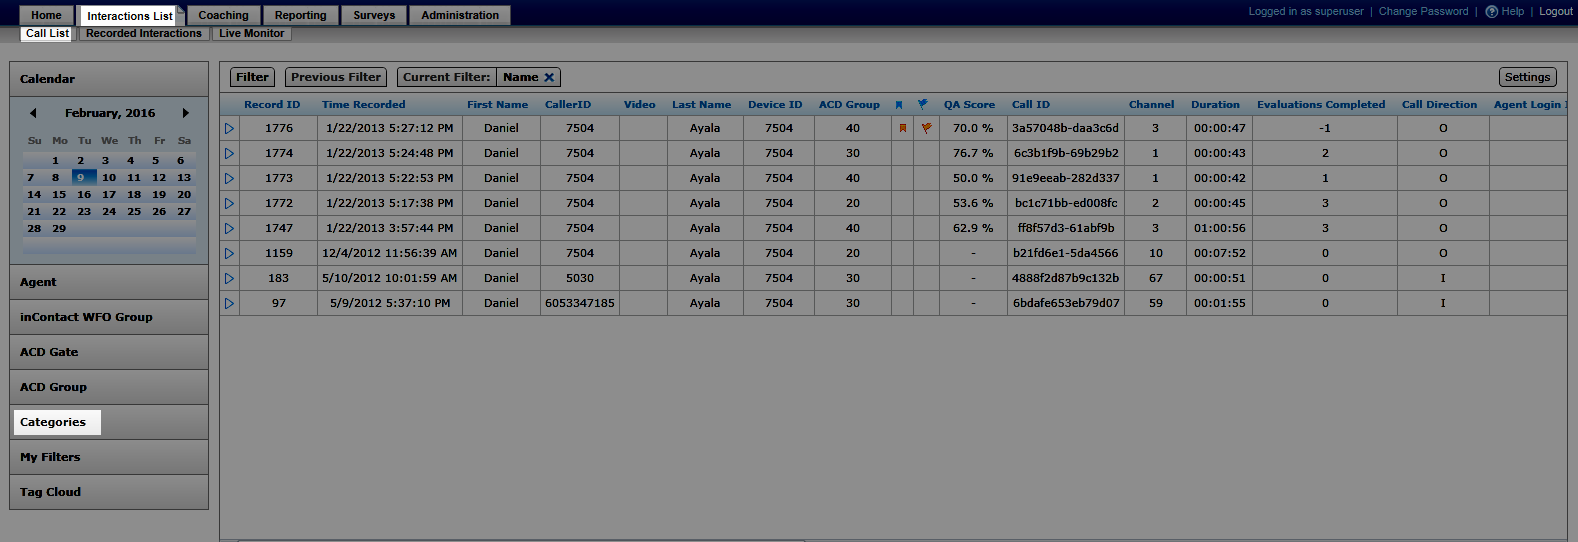
- In the NICE Uptivity Web Portal, click Interactions ListCall List (or Recorded Interactions) Categories.

-
Click New Category.
If you are using the Recorded Interactions, click one of the top-level categories (Private, Public, or Shared) to make the New button appear. Shared categories are only supported in the Recorded Interactions.
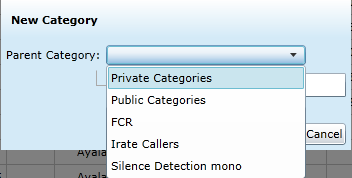
- Select a Parent Category from the drop-down list.
- Type a name for the category in the Title field.
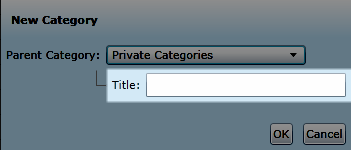
- Click OK.
See Also
- Quick Filters — for more information on the Categories quick filter
- Filters — for more information on using categories in custom filters