Import Users
inContact Workforce Optimization supports creating multiple user accounts at once by importing agent information in a comma-separated values (CSV) file. This topic covers how to import a file.
For more information, see Users Overview.
You must create a CSV file for importing to inContact WFO. The CSV file must contain the following values, with each value separated by a comma:
- Username
- Password
- "Locked" value (Y/N)
- First name
- Last name
- Active agent (Y/N)
- System username
- System domain
- Employee ID
- Site ID
- Phone1
- Role ID
- ActiveDirectoryDomain (if your system uses AD/Hybrid authentication)
- ActiveDirectoryUsername (if your system uses AD/Hybrid authentication)
You can include multiple values for phone and role, separated by semi-colons (for example, 6145551234;6145551235). You cannot include phone numbers for any entry that does not have a Y value for active_agent.
You must supply the inContact WFO-created identification number for the role, not the name; see Page Details: Roles.
If Allow Lookup by Agent/Workstation is enabled in the Web Portal Settings, importing the agent's Location (Site ID) is not supported. You may need to configure this separately for each agent after the import is completed.
If a value doesn't apply, or you don't want to supply it in the import file, you must still allow space for it.
For example, let's say your file includes new agent Phil Hamilton and you want his account to be locked until he finishes training. A properly-formatted CSV file, including an entry with only basic information for Phil, might look like this:

When you import a file, inContact WFO verifies the entries in your file are in the correct format. It also checks for existing agent names or phone IDs, and for existing Active Directory (AD) usernames on the same domain if you are using hybrid or AD authentication.
The following image shows validation warnings caused by a duplicate username and an improperly-formatted email address.
If validation warnings are displayed, you must correct the file and then try the import again.
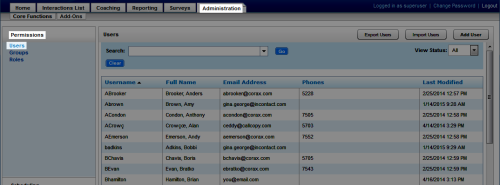
- In the inContact WFO Web Portal, click AdministrationPermissionsUsers.
- Click Import Users.
- Click Select.
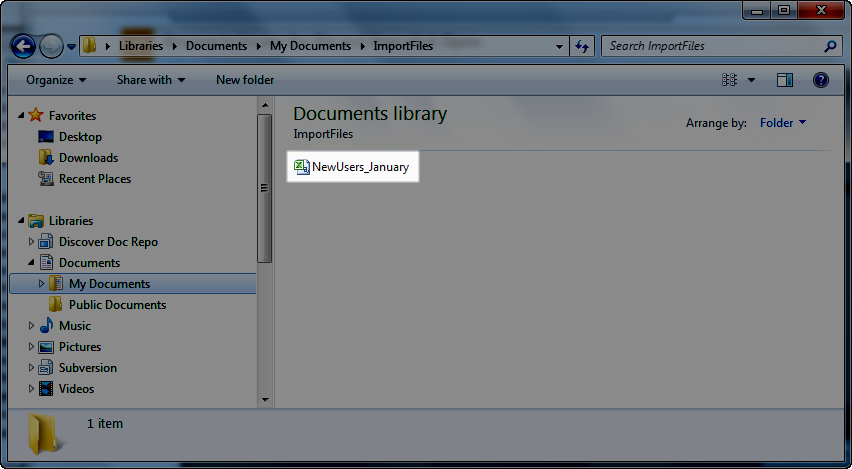
- Browse to locate the file and then click Open.

- If the file has a header row with column labels, select Import file has a header.
- Click Upload File.
- Click Perform Import.
See Also
- Page Details: New User — for details on user account fields discussed in this task


